Parallels Desktop
Run Windows apps on a Mac with hardware-accelerated virtualization, Coherence mode, and file sharing. This guide compares plans, costs, and step plans to pick and install Parallels Desktop.
Some links in this article lead to partner services. If you make a purchase there, the site may receive a commission; this does not affect the price or our assessment.
Run specific Windows-only apps on macOS, access USB devices in a virtual machine, or test multiple OS builds; Parallels Desktop provides hardware-accelerated virtualization, Coherence mode for seamless app integration, and direct USB and GPU passthrough suited for daily productivity tasks. Choose the Pro edition for developer tools and more vCPU/RAM, or the Standard edition for single-user productivity; pricing details are shown in the comparison table below.
Decision criteria – what matters for a daily workflow
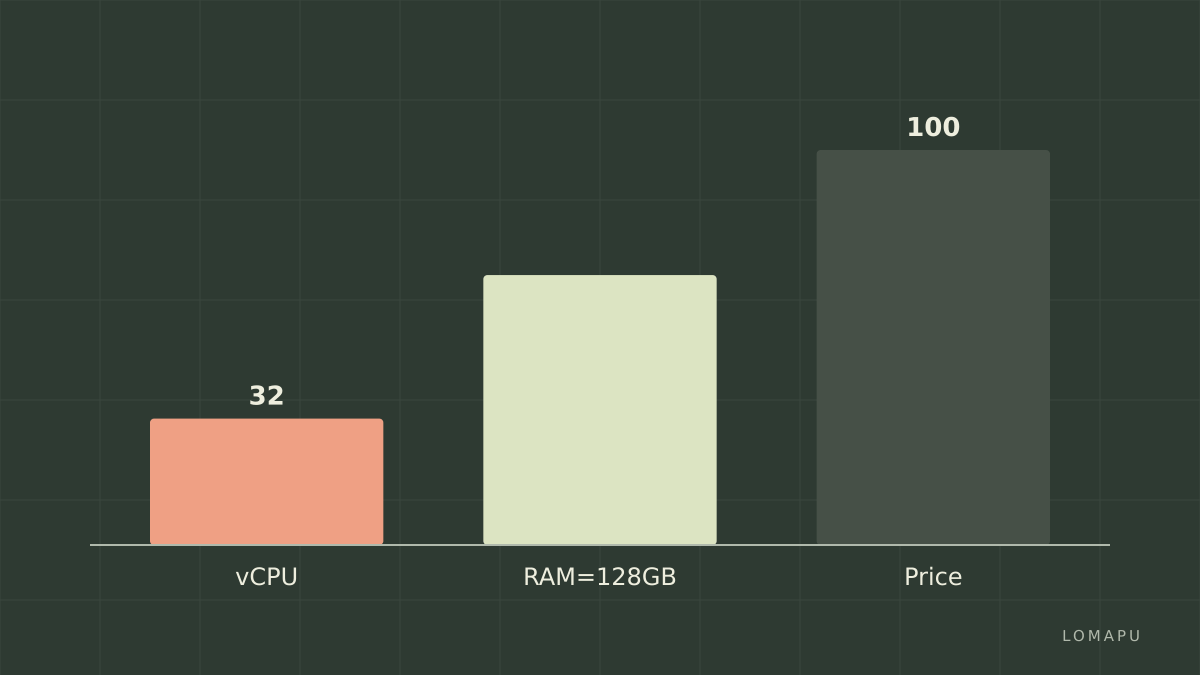
Performance needs – if you run Visual Studio, AutoCAD, or heavy Excel models choose Pro with up to 32 vCPUs and 128 GB RAM allocation per VM (feature list source: Parallels product page).
Integration with macOS – if you need menu bar sharing, copy-paste and drag-drop between Mac and Windows, use Coherence mode available in Standard and Pro.
Licensing and budget – if you want perpetual one-time purchase choose the Standard perpetual license; if you need upgrades and business features prefer an annual subscription. See prices in the table below (prices noted at the time of checking).
External device access – for USB device passthrough and serial device use, confirm the edition supports the device type; Parallels documents device support on its help pages.
Multiple VM snapshots and networking – pick Pro for frequent snapshotting and advanced networking, or Business for centralized management.
Quick comparison table – editions, limits, and prices
The table uses prices from Parallels buy pages, at the time of checking.
Edition | vCPU / RAM per VM | Snapshots | License type | Price (US) |
|---|---|---|---|---|
Standard – annual | Up to 4 vCPUs, 8 GB RAM | basic | Subscription annual | $79.99 / year (source) |
Standard – perpetual | Up to 4 vCPUs, 8 GB RAM | basic | Perpetual (no major updates) | $99.99 one-time (source) |
Pro – annual | Up to 32 vCPUs, 128 GB RAM | advanced | Subscription annual | $99.99 / year (source) |
Business – annual | Up to 32 vCPUs, 128 GB RAM | advanced + admin | Subscription annual, centralized | $99.99 / user / year (volume pricing available) (source) |
Table notes: features and limits summarized from Parallels product descriptions; confirm exact system requirements and available CPU/RAM limits for your Mac model on Parallels product page.
Scenarios and recommended edition
Daily office apps and one Windows-only accounting program – choose Standard perpetual if you prefer one-time purchase and do not need frequent updates.
Software development with Docker and multiple VMs – choose Pro for higher vCPU and RAM, and better snapshot control.
IT managed machines for employees – choose Business for centralized license management and identity provider integration.
Decision rule: if you require more than 8 GB RAM for a single VM or heavy multitasking, pick Pro; otherwise Standard suffices.
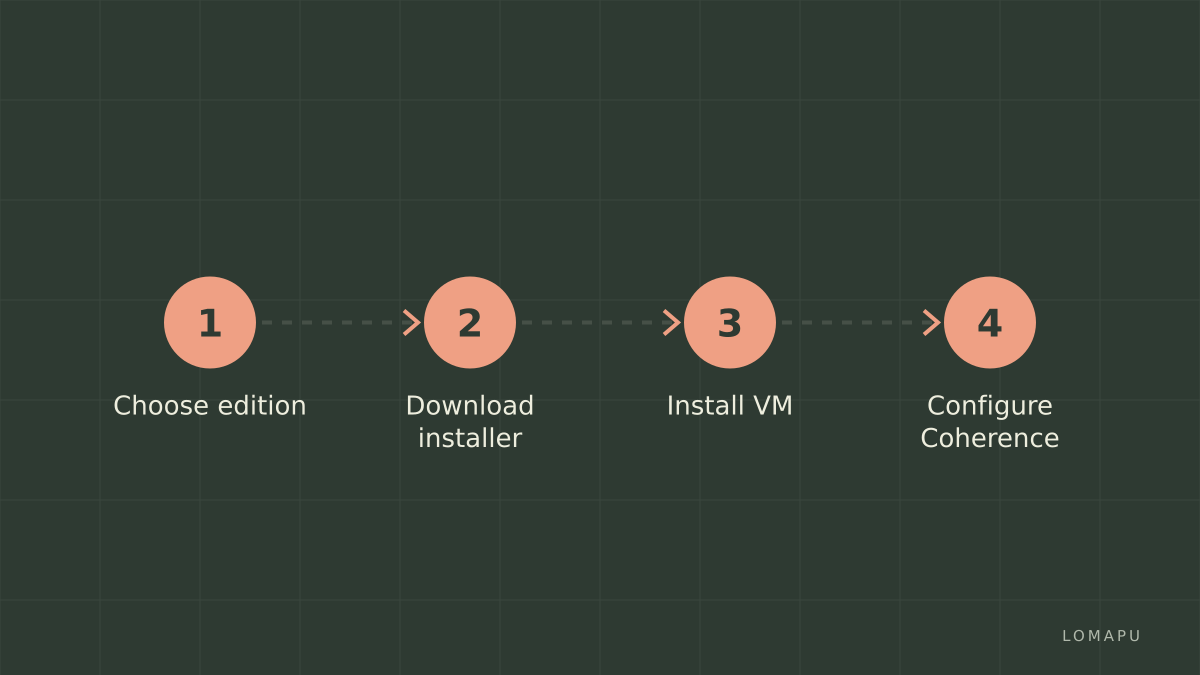
Step plan – choose, install, and configure Parallels Desktop
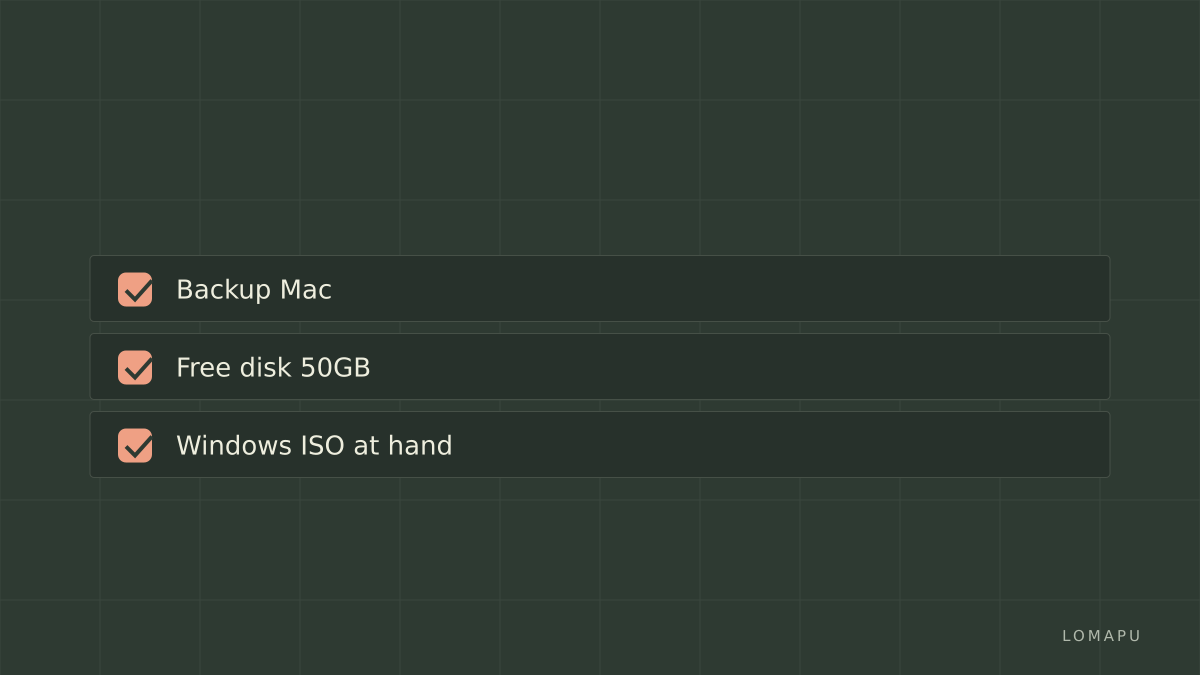
Check macOS and hardware: verify your Mac has at least 8 GB RAM and 50 GB free disk; for GPU acceleration you need a supported GPU model listed on Parallels product page.
Pick edition using the decision rule above and buy or download a trial from Parallels. For enterprise, contact sales for Business volume pricing.
Download the installer and run it; when prompted choose to create a new VM from a Windows ISO or migrate a Boot Camp partition.
Allocate resources: in VM configuration set CPU and RAM – start with 2 vCPUs and 4 GB RAM for light apps, increase to 4+ vCPUs and 8+ GB for heavier apps.
Enable Coherence mode in View menu to run Windows apps alongside macOS apps; enable shared folders under Options to access Mac files from Windows.
Configure backups and snapshots: set automatic snapshots for project work; export a VM before major changes.
Tune performance: set disk mode to faster and adjust graphics memory if 3D apps are used.
Mistakes to avoid
Allocating too much RAM to a VM – do not assign more than half your Mac RAM; if your Mac has 16 GB, keep VM at 8 GB or less.
Skipping Parallels Tools installation – Parallels Tools provides drivers for Coherence, clipboard sharing, and mouse sync; install it immediately after OS setup.
Ignoring macOS security settings – allow kernel extensions or system permissions when prompted in System Preferences to enable full virtualization features.
One limitation and one alternative
Parallels limitation – heavy GPU-bound gaming or professional 3D rendering may be limited by macOS host GPU passthrough constraints; consider native hardware or Boot Camp on Intel Macs. Alternative without link – VMware Fusion is a common alternative if you need different licensing or enterprise VMware integration.
Sources and final decision rule
This guide is built from public Parallels documentation and product pages and uses pricing from Parallels buy pages at the time of checking. Pick Standard perpetual for a one-time purchase and basic daily Windows app needs; pick Pro if you need higher vCPU/RAM and developer tooling. For purchase and downloads use Parallels Desktop or consult the product pages for feature specifics.
Sources:
https://www.parallels.com/products/desktop/
https://www.parallels.com/products/desktop/buy/
https://www.parallels.com/blogs/ras/what-is-parallels-desktop/